
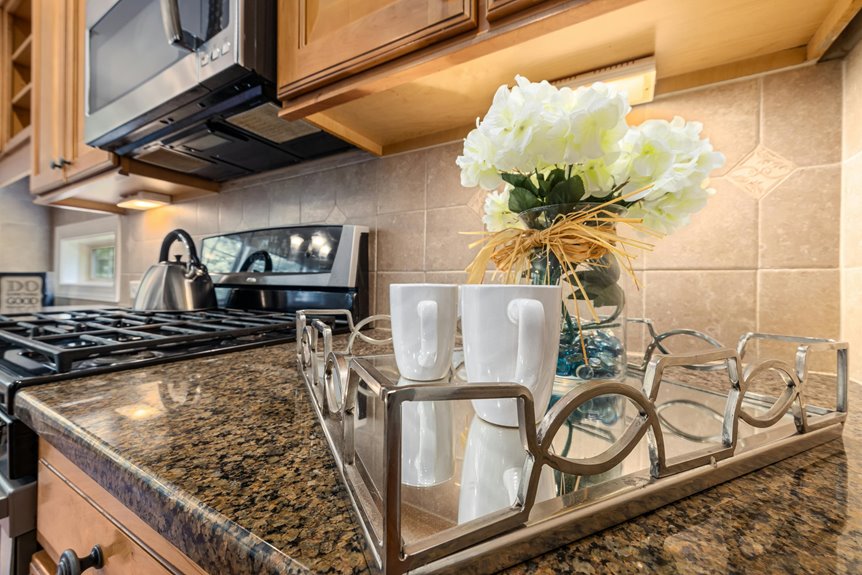
I’ve discovered that styling kitchen counters isn’t about cramming in pretty stuff—it’s about starting with your countertop material as your guide. Layer items in varying heights, group items in odd numbers, and use trays to corral essentials near your backsplash. Add fresh herbs or flowers for softness. Match your decor to your kitchen’s vibe, whether that’s modern, farmhouse, or chef-inspired. Swap mismatched containers for cohesive ones. Move frequently-used items to wall storage. Rotate seasonal touches to keep things fresh. Each choice builds on the last for a functional, styled space—stick around to see exactly how to pull it all together.
Start With Your Kitchen Countertop Material as Your Design Foundation
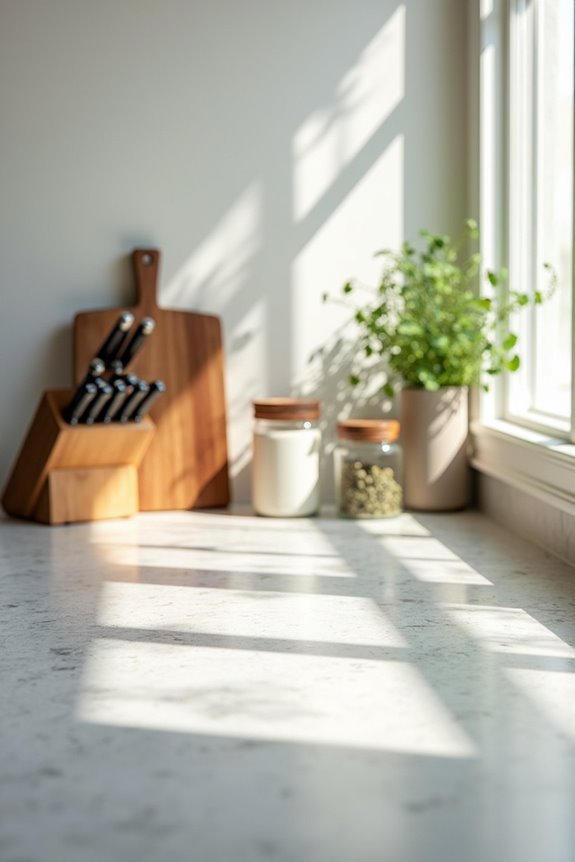
Ever notice how the most beautiful kitchens seem to celebrate what’s already there instead of hiding it?
The most beautiful kitchens celebrate what’s already there instead of hiding it.
I learned this the hard way. Your countertop material deserves to be the star of the show, not a supporting actor. Whether you’ve got rich soapstone with dramatic veining or sleek marble, your styling should enhance it, not compete against it.
Here’s what I do: I think about my countertop’s color and texture first. Then I choose canisters, bowls, and utensil holders that complement—not match—those qualities. A white marble counter needs contrast, so I add a darker ceramic bowl or wooden utensil holder.
The key is thoughtful pairing. When you design around your material, everything looks deliberate and unified. Your countertop becomes the foundation for everything else.
Master the Rule of Threes for Visual Balance
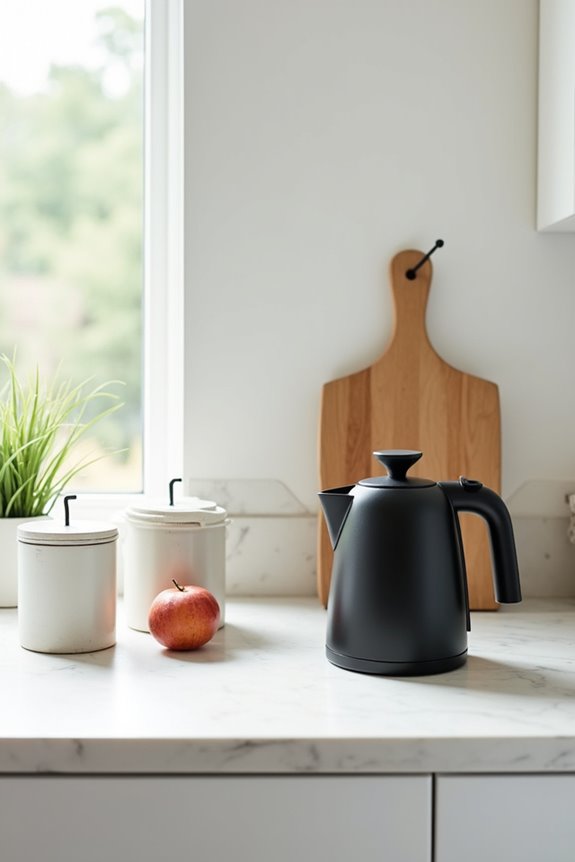
I’ve learned that grouping countertop decor in odd numbers creates rhythm that actually works. Here’s my approach: I combine something tall (like a plant), something grounded (a bowl or jar), and something sculptural (a decorative object). This visual balance produces better results than random placement.
The trick? Keep your trio cohesive with matching colors and textures. I position mine near the backsplash to preserve usable counter space—because let’s face it, we need room to cook. Varying heights prevents that cramped feeling. Once you master this rule of threes technique, your counters will look more organized and intentional.
Choose Counter Decor That Matches Your Kitchen Type
What style speaks to you—a sleek modern space, a cozy farmhouse, or a chef’s culinary hub?
Your kitchen type styling should match who you are. Matching your kitchen counter decor to your space helps everything work together visually.
For Chef’s Kitchens
I arrange sculptural oil decanters, beautiful salts, and vintage cookbooks in odd-numbered trios near the backsplash. This creates rhythm while keeping my counter functional. I use trays to corral oils and utensils, preventing messy drips.
For Modern Kitchens
I keep things minimal with sleek canisters and one focal element—maybe a geometric fruit bowl.
For Farmhouse Spaces
I layer cutting boards, mason jars, and ceramic holders for that warm, gathered feeling.
Your counter organization should match your lifestyle. When your decor aligns with your kitchen type, cooking becomes easier and your space feels like it belongs to you.
Use Trays to Corral and Organize Without Clutter
I’ve discovered that trays work well for keeping your counters organized instead of like a oil-and-salt explosion happened. You can create different zones on your counter—one tray for your coffee setup, another for cooking essentials—and suddenly your everyday items look purposeful instead of chaotic. The benefit comes when you pick tray materials like marble or wood that match your countertop, so everything works together as one stylish, functional display.
Create Zone-Based Organization
Three simple words changed how I think about counter clutter: trays work well.
I discovered that grouping similar items on trays organizes your countertops effectively. Instead of oils, vinegars, and salt scattered everywhere, I corralled them together on a wooden tray near my backsplash. My prep area became organized rather than chaotic.
Here’s what works for me: I use different materials—marble, woven fiber, wood—to match my countertop textures. This makes organization feel deliberate rather than forced. I placed my cooking essentials tray within arm’s reach during meal prep. A second tray holds decorative items I actually use daily.
The real trick? Reserve trays for display and light tasks, not heavy cutting work. This keeps them functional and useful. Your counters become organized zones instead of catch-all surfaces.
Choose Complementary Tray Materials
Your tray’s material matters more than you’d think—it’s the difference between a counter that looks planned and one that looks random.
Matching your tray material to your countertop creates visual cohesion. Here’s what works:
- Wood trays bring warmth and pair well with granite or butcher-block counters
- Marble trays add sophistication and coordinate with modern, minimalist spaces
- Metal trays introduce structure and complement stainless steel or concrete surfaces
Once you’ve chosen your material, pair it with coordinating canisters and jars. This combination turns organization into decor. I lean my trays near the backsplash to maximize usable counter space while keeping everything accessible. The result is a kitchen that feels organized and deliberate.
Balance Function And Style
Now that you’ve picked the perfect tray material, it’s time to actually use it.
I’ve learned that trays aren’t just pretty decorations. They’re functional tools for organization. When I group my salt shaker, olive oil, and vinegar on one tray, suddenly my counter feels more organized and less cluttered.
Here’s what works: place similar items together to create display harmony. I use one rectangular tray for cooking essentials near my stove. Another round one holds my coffee setup. This approach keeps everything I need within arm’s reach while maintaining a polished appearance.
The practical tip? Position your trays near the backsplash. This frees up valuable counter space while creating a functional zone. You’re not just organizing—you’re designing a space that actually works for you.
Create Visual Interest by Varying Heights Across the Counter
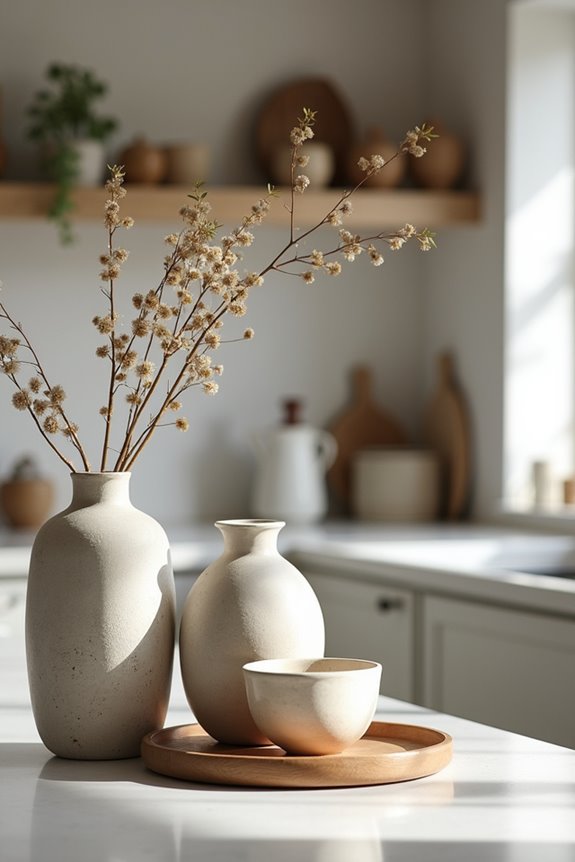
I’ve learned that mixing tall and short items on your counters is like composing a piece of music—you need different notes at different levels to make it work. Instead of lining everything up flat and uniform (which I used to do, and it looked pretty boring), I now layer a tall vase next to a shorter utensil holder and add a cookbook at the base to create rhythm and depth. This strategic stacking brings visual interest to your counter by breaking up the monotony and organizing your items into a deliberate arrangement that guides your eye around the space.
Layering Objects Strategically
How’d you like to build a flat, boring counter into something that actually catches your eye? Layering is an effective approach. I’ve learned that height variation creates the visual rhythm your kitchen’s been missing.
Here’s what I do:
- Place tall items first (vases, utensil holders) to establish your display’s backbone
- Add mid-level pieces (cookbooks, decorative boxes) to build dimension and flow
- Ground everything with lower canisters and small items to complete the composition
Balance across these layers matters. I group odd numbers—usually three items—at each height level. This natural grouping prevents that cluttered feeling while keeping things functional near your backsplash and work surface.
Mix textures too. Pairing wood, marble, and metal creates visual interest that improves your overall kitchen appearance.
Balancing Tall And Short
Ever notice how a counter looks flat and one-dimensional when everything’s at the same height? I’ve been there. Here’s what I’ve learned: mixing tall and short items creates visual interest that makes your counter feel deliberate and organized.
I pair tall vases with shorter bowls to build layering that draws the eye upward, then downward. It’s like a visual journey. I position upright pieces—like cookbook stands—toward the back, anchoring lower items in front. This rule of thirds approach means one tall piece, one mid-height item, and one short one per grouping. It works.
| Height Level | Item Example | Placement | Purpose |
|---|---|---|---|
| Tall | Vase or candlestick | Back/center | Draw eyes up |
| Mid | Utensil holder | Middle | Transition point |
| Short | Canister or bowl | Front | Ground the display |
Varying materials across heights adds texture without clutter.
Display Serving Boards for Texture and Dimension
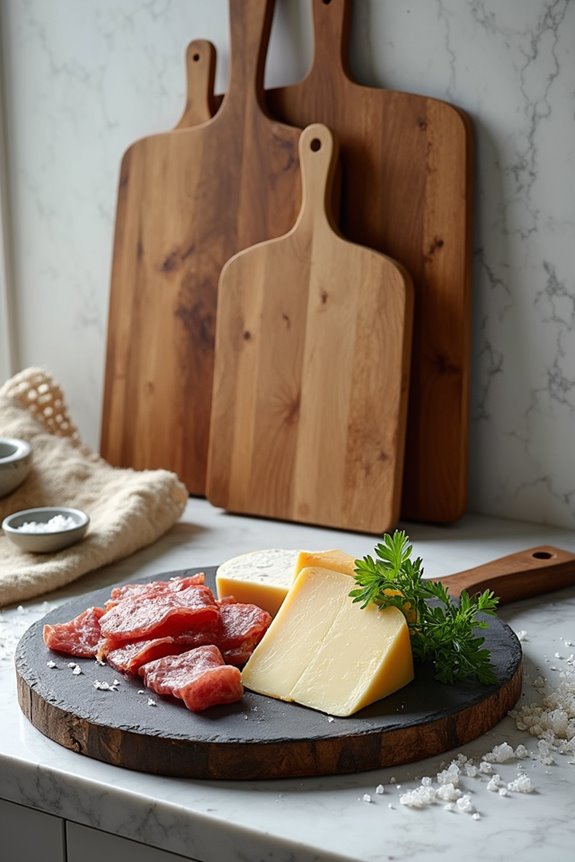
Why do serving boards work so well on kitchen counters? They’re a practical tool I’ve discovered for adding texture and dimension without overthinking it.
I layer my boards vertically and horizontally to create visual interest. Here’s what I do:
- Mix materials: I pair striped marble with warm wood to complement my countertops and catch the eye
- Choose vintage finds: I hunt online and at markets for affordable boards that add charm and character
- Style with intention: I arrange canisters, fruit bowls, and small vases around my boards to build organized vignettes
Two boards work fine, but three creates more dynamic staging. Different sizes and orientations build depth and variety. The best part? My counters stay functional since I’m not hogging all the space with decoration. It’s practical beauty.
Move Your Staples Into Pretty, Matching Containers
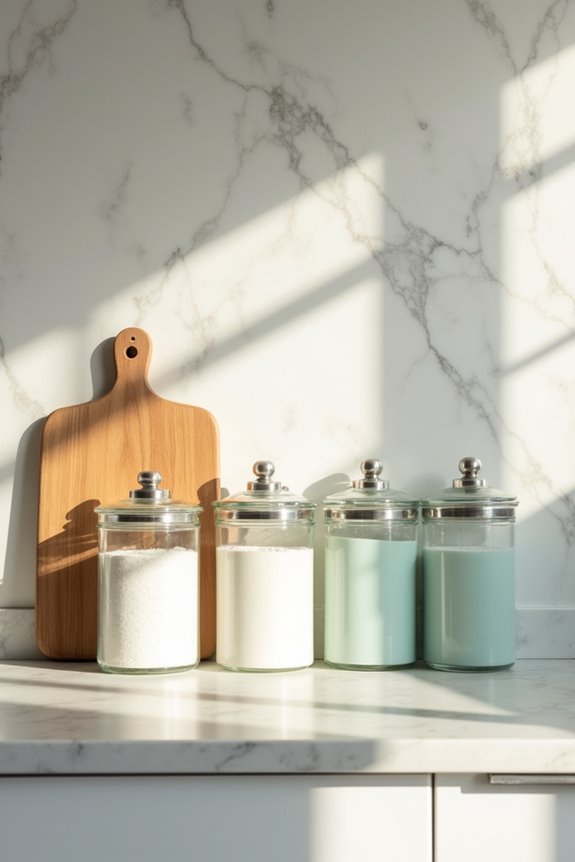
Matching containers might sound like a small thing, but they’ll improve how your counters look and function. I’ve discovered that swapping mismatched boxes for cohesive storage pieces makes your kitchen feel organized and well-designed.
Matching containers transform mismatched clutter into cohesive storage, making your kitchen feel instantly organized and well-designed.
Start by choosing containers that complement your countertop colors. Glass jars work well for pasta, rice, and nuts—they’re both storage and display rolled into one. When everything matches, your counter looks less chaotic and more organized.
Here’s what I’d suggest: begin small. Maybe swap your dish soap into a prettier dispenser first. This single change shows how much impact decor-friendly storage makes. Once you see the difference, you’ll want to decant more staples.
The result? A streamlined counter that feels welcoming and organized. That’s the kitchen design most people want.
Bring in Fresh Herbs and Flowers to Soften the Space
Now that your counters feel organized with matching containers, it’s time to add something that’ll make them feel alive. Greenery decor shifts a space from sterile to inviting. Here’s what works:
- Fresh herbs like basil and rosemary serve double duty—you’ll use them while cooking and enjoy their natural scent
- Potted plants add visual interest without demanding much space or attention
- Faux greenery keeps things fresh-looking year-round if you’re not naturally gifted at plant care (like me)
I pair my herbs with minimalist vessels that match my countertops. An automated countertop herb planter removes the guesswork—no brown thumbs required. Small vases of flowers create focal points without clutter. The organic feel these elements bring works well with minimal effort involved.
Steal Back Counter Space With Wall Mounts and Rails
Here’s the thing about counter space—once you lose it, getting it back feels like winning the lottery. I’ve found that wall-mounted solutions like magnetic knife strips and pot rails work well for keeping your essentials accessible without them taking up precious real estate. Moving your knives and frequently grabbed pots to the wall means you’re actually using your counters for cooking instead of just storing stuff.
Magnetic Knife Storage Solutions
Ever find yourself digging through a crowded knife block just to grab a paring knife? I did too—until I discovered magnetic knife storage solutions that improved my kitchen organization.
Magnetic strips mount directly on your backsplash or under shelves, creating instant organization while freeing up precious counter space. Here’s what makes them work:
- Strong hold and style—Modern magnetic bars grip your blades securely while adding sleek, contemporary appeal to your kitchen decor
- Smart placement—Install them within arm’s reach for efficient cooking, keeping frequently used knives accessible during meal prep
- Space-saving design—Wall-mounted storage eliminates clutter and opens up counter organization opportunities for other essentials
I’ve paired mine with decorative wall rails, maximizing vertical storage effectively. Just remember to keep them away from heat sources for safety. This investment delivers practical benefits daily.
Pot Racks And Rails
What’s taking up half your counter space right now—a tower of pots and pans you can’t quite fit anywhere else? I’ve been there. That’s where wall rails and pot racks come in handy. These wall-mounted solutions help organize cluttered counters into neat, stylish displays.
| Rack Type | Best For | Style Vibe |
|---|---|---|
| Emery pot rack bars | Heavy cookware | Modern industrial |
| Copper rails | Mixed storage | Warm, elegant |
| Enclume racks | Performance + aesthetics | Carefully chosen |
You’ll free up serious counter space by moving pots, pans, and utensils to walls. I positioned mine under my backsplash, creating a unified look that actually makes my kitchen feel bigger. Pair these with magnetic knife strips for maximum efficiency. Your counters—and your peace of mind—will benefit.
Rotate Seasonal Decor and Personal Touches for Warmth
Your kitchen counters don’t have to look the same all year long—and honestly, they shouldn’t. I’ve discovered that rotating seasonal decor keeps my space feeling alive. It’s like giving my kitchen a little refresh without redecorating everything.
Here’s what I do to add warmth and personality:
- Pick one focal point per season—think a pumpkin arrangement for fall or evergreen branches for winter
- Stick to 2–3 colors to keep things calm and organized instead of chaotic
- Schedule regular refreshes around holidays so your counters never feel stale
Fresh or faux greenery softens the space nicely. A seasonal fruit bowl becomes both functional and attractive. These small touches make your kitchen feel like yours—personal, warm, and genuinely inviting to everyone who enters.