
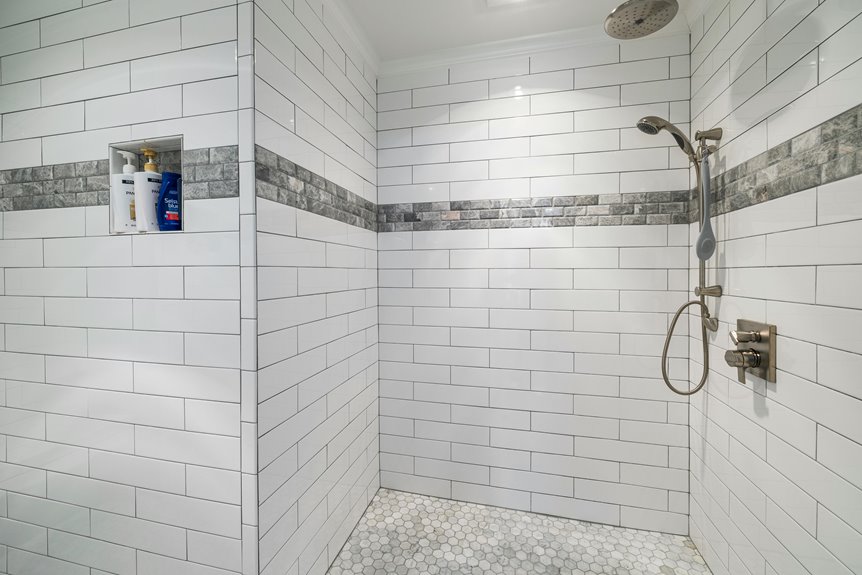
Decorators caulk protects your bathroom from moisture damage, and the application process is straightforward. You’ll remove old caulk, prep dry surfaces, then load your gun and apply at a 45-degree angle—keeping your bead tight and controlled. Smooth it immediately with a damp finger for crisp lines. Let it cure fully (24–48 hours, depending on humidity), and you’re done. Read on to discover the specific mistakes that’ll save you from redoing this job next year.
What Decorators Caulk Is and Why It’s Right for Bathrooms
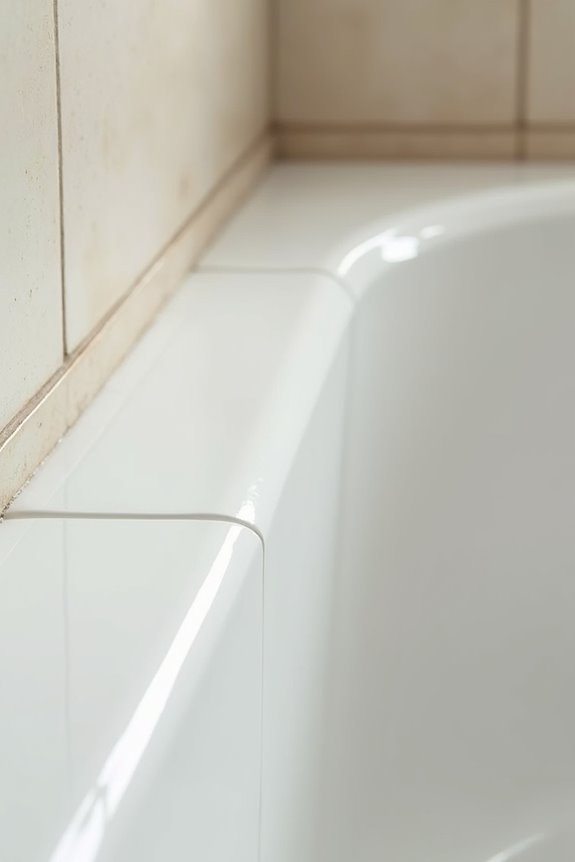
Ever wonder why some bathroom corners stay perfectly sealed while others start cracking and leaking after a few months?
The answer lies in using the right product: Decorators Caulk. It’s a flexible sealant specifically designed for bathroom sealing that delivers reliable performance for anyone dealing with water damage concerns.
Here’s what makes it effective for your bathroom. Decorators Caulk creates a waterproof seal that prevents moisture from seeping into gaps around tubs, showers, and countertops. You can use silicone caulk for maximum durability in wet zones or acrylic latex when you need paintability. With proper surface prep and a caulk gun, you’ll achieve professional results. It’s the difference between a bathroom that lasts and one that needs constant repairs. This investment provides long-term value.
Why Decorators Caulk Excels in Wet Environments
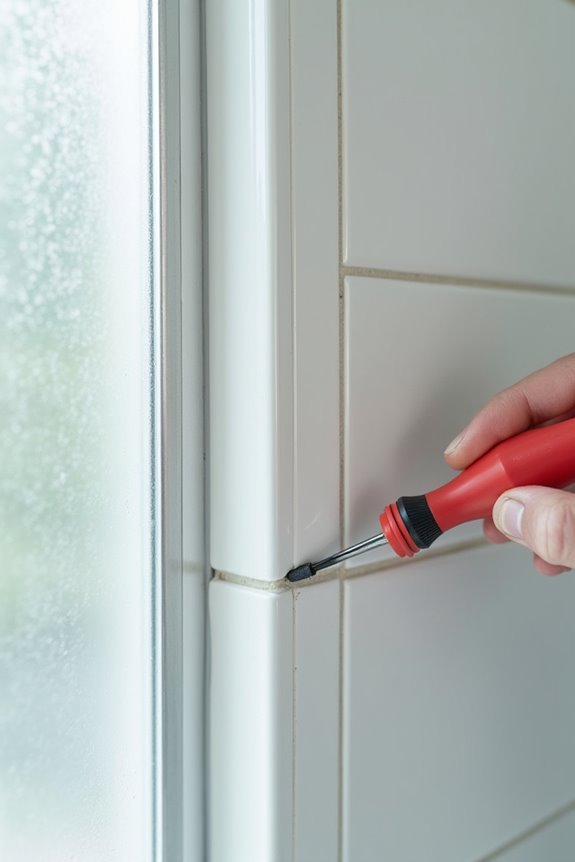
I’ve found that what really sets Decorators Caulk apart in my bathroom is how it stands up to constant moisture without breaking down like regular caulk does. The silicone formula creates a barrier that resists mold and mildew growth—which means I’m not scrubbing black spots off my shower seams every few weeks like I used to. Between the water resistance and that built-in mold prevention, my bathroom stays fresher with noticeably less cleaning required.
Water Resistance Properties
Because bathrooms are basically moisture magnets, you need a caulk that won’t give up after a few showers—and that’s exactly where decorators caulk works well. I’ve learned that silicone caulk specifically designed for bathroom water resistance keeps moisture out where it matters most.
Here’s what makes it work: the flexible, sealant formulation stays durable through endless wet-dry cycles. Unlike regular caulk that cracks and peels, this waterproof sealant maintains its elasticity. It accommodates substrate movement without failing.
For mold prevention, proper curing time is necessary. I always wait the full recommended period before exposing joints to water. When I apply silicone caulk around shower enclosures, sinks, and tile seams, I’m creating a protective barrier that lasts. That’s the bathroom water resistance you need.
Mold Prevention Performance
Mold and mildew—the bathroom’s uninvited guests—don’t stand a chance when you’re using quality decorators caulk. This product’s special formulation actively resists mold growth, which addresses the bathroom battle we all face.
Here’s what makes it work: the caulk adhesion creates a tight seal that prevents moisture from sneaking behind tiles. That dense, uniform bead you get from proper smoothing technique traps no gaps where mold loves to hide.
Your water resistance stays strong because the seal blocks dampness completely. Apply it carefully around shower edges and sink bases—exactly where mold thrives. After smoothing properly, you get a barrier that keeps moisture out for months.
This mold prevention approach beats scrubbing endlessly.
Remove Old Caulk and Prep Your Surfaces
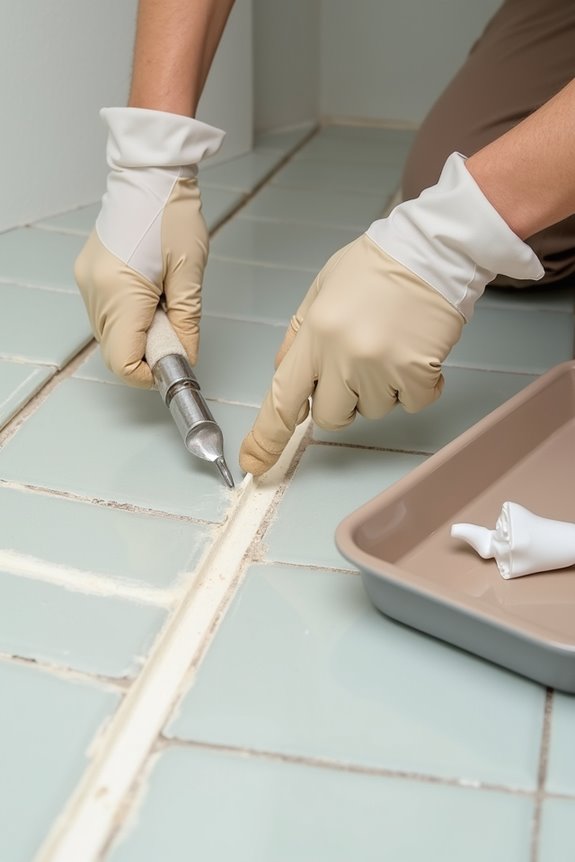
Before you apply fresh caulk, you need to remove what’s already there—and this step matters significantly.
Old caulk must be completely removed. Use a caulk remover tool or putty knife to cut and lift it away. Follow with a mildew-resistant cleaner, as this prevents future problems.
Surface preparation requires attention to detail. Your joint needs to be completely dry. Moisture or soap residue will compromise adhesion. Wrap painter’s tape around the area for clean, straight lines.
Timing matters. Re-caulk within 15–30 minutes of prepping to prevent dust and contaminants from affecting adhesion.
Load Your Gun and Apply Caulk at 45 Degrees
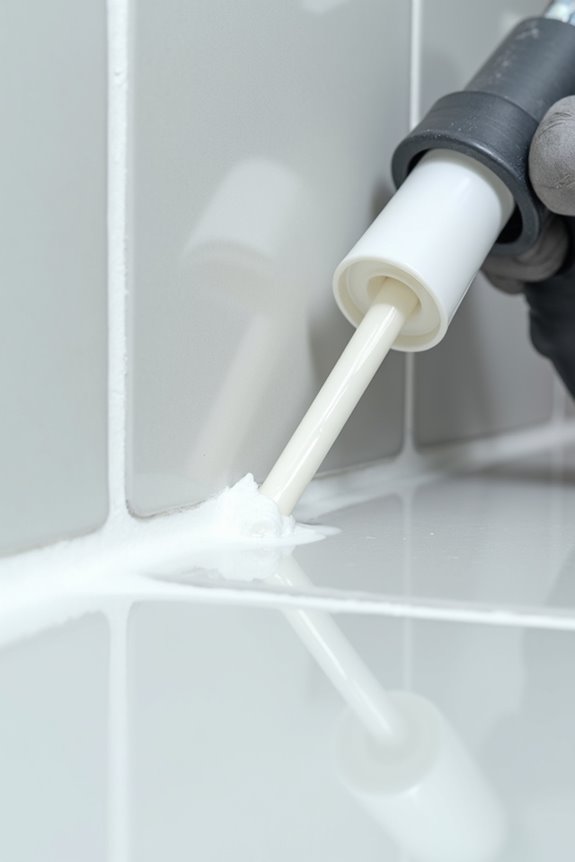
Now comes the fun part—actually getting that caulk into the joint where it belongs. I’ll walk you through positioning your gun correctly and applying that steady pressure that’ll make your bead look professional (or at least respectable). Once you’ve got the technique down, you’ll realize it’s not as tricky as it first seems.
Positioning Your Caulking Gun
Have you ever watched someone caulk a bathroom and thought it looked effortless? I used to think the same thing—until I realized positioning matters more than you’d expect.
Here’s what I’ve learned: hold your caulk gun at a slight downward angle. This simple adjustment makes everything easier. Keep steady pressure on the trigger as you move along the joint. I found that maintaining consistent pressure prevents gaps and drips.
Align your nozzle with the joint width carefully. This alignment directly affects your bead thickness—aim for 1/4 to 3/8 inches. Move in one smooth pass without stopping. I know this feels awkward at first, but you’ll develop muscle memory quickly.
The key? Practice on inconspicuous areas first. You’ll gain confidence and nail the technique before tackling visible spots.
Applying Steady Bead Pressure
Loading your caulk gun properly sets you up for success—and it’s simpler than you’d think. I puncture the inner foil, cut the nozzle at a 45-degree angle, and thread in the cartridge. This prep work matters more than you’d expect.
When applying, I maintain steady pressure on the trigger while moving at a consistent 3–5 foot pace. This prevents gaps and sags that’ll cause problems later. I align the nozzle so the bead thickness matches the 1/4-inch mark—uniformity is key.
Here’s what works: smooth motion wins every time. I never stop mid-bead because that creates ridges and air pockets. For silicone caulk, I use painter’s tape above and below the seam, then remove it immediately after tooling. The result? Crisp, professional lines that make your bathroom look polished.
Smooth Your Bead Before It Sets
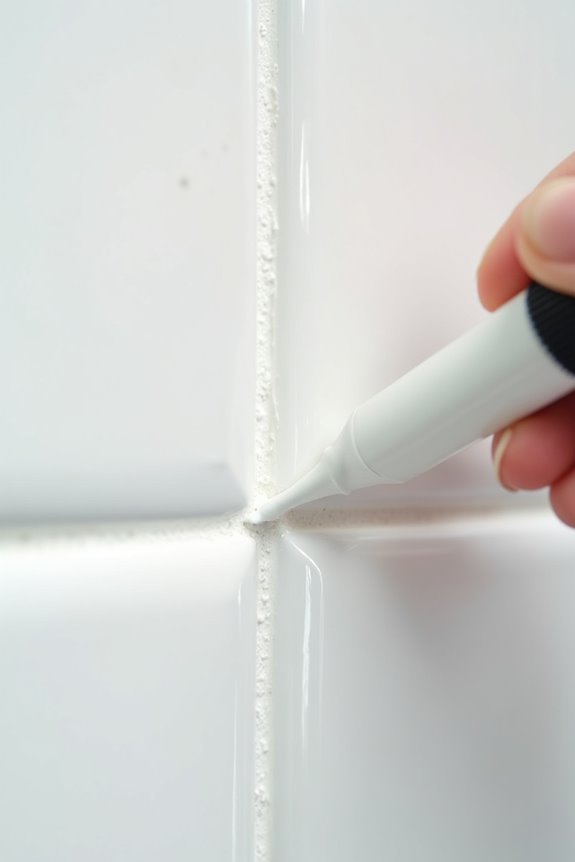
Smooth Your Bead Before It Sets
The key moment happens right after you’ve laid down that caulk line—you’ve got a small window of time to make it look professional before it starts to set. This is where most people learn their lessons (some messier than others).
Work Fast in Sections
Smooth your caulking bead in 3–5 foot sections, using one continuous pass. This prevents the silicone caulk from skinning over while you’re still working.
Use Your Tools
Grab either a caulk smoothing tool or your damp finger to shape that bead evenly. With painter’s tape above and below the joint, remove it immediately for crisp edges.
Clean Immediately
Wipe excess caulk with a baby wipe while it’s still wet. Then recheck for gaps and touch them up quickly.
How Long Caulk Needs to Cure (and Why It Matters)
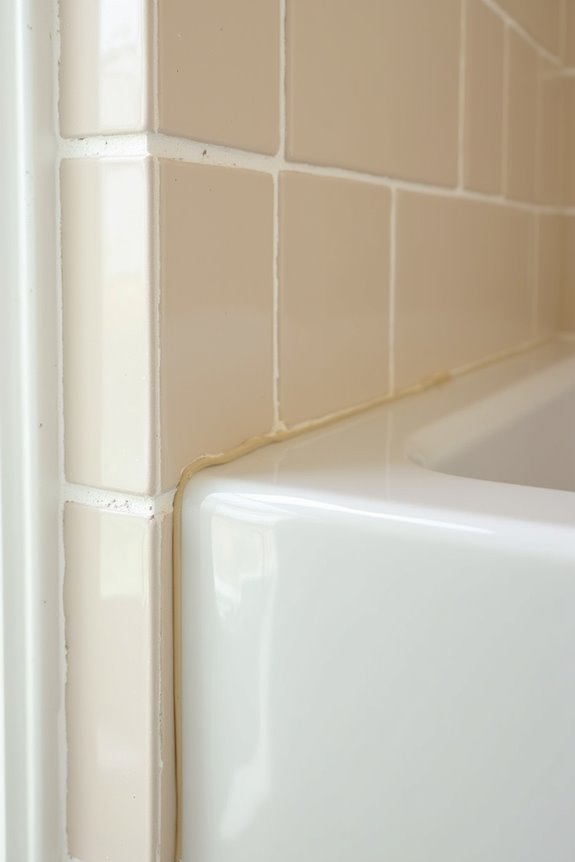
Once you’ve smoothed that caulk bead to perfection, patience becomes your best friend—and I’ll admit, it’s not always easy when you’re anxious to use your newly sealed bathroom.
Here’s what I’ve learned: caulk cure time varies by product. Most caulk reaches touch-dry in 30 minutes, but don’t rush. Water exposure is safe after 4 hours, though full cure typically takes 24 hours. For silicone caulk around tubs or showers, expect 24–48 hours for maximum waterproof protection.
Caulk cure times vary by product—most reach touch-dry in 30 minutes, but full waterproof protection requires 24–48 hours.
Why does this matter? Moisture exposure during curing weakens your seal. That’s why checking your manufacturer’s label is important—it tells you exact cure times for your specific product.
Your bathroom’s humidity slows everything down. I’ve learned this the hard way. Give it time, and you’ll have a seal that actually lasts.
Common Caulking Mistakes and How to Fix Them
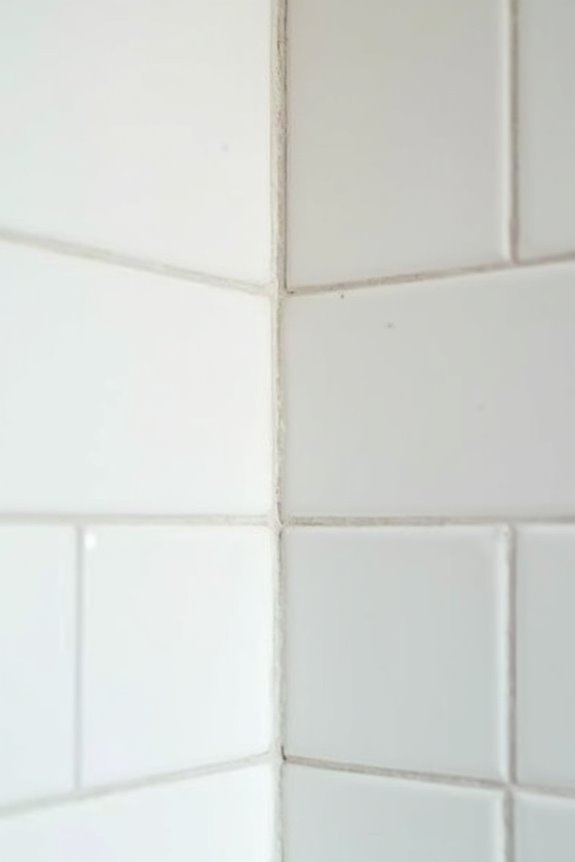
Why do some caulk jobs look professional while others look… well, let’s just say “lived-in”? I’ve learned the hard way that mistakes happen. Here’s what I’ve discovered:
- Improper surface prep – I used to skip cleaning the joint thoroughly. Now I wipe everything down first, or my waterproof caulk won’t stick properly.
- Applying too much – I’d squeeze out massive amounts of caulk. A minimal amount works better than a glob.
- Skipping the smoothing – Smoothing the caulk immediately after application improves the final result. I use a damp tool or my finger to get crisp lines.
If you mess up, a caulk removal tool saves the day. I’ve used one plenty of times!