
I’ll show you how to refresh your kitchen affordably. Start for free by repurposing what you own—move that rug, display dishes on open shelves, organize drawers. Under $50? Paint cabinets or upgrade lighting. Around $100, a pendant fixture makes a real difference. Ready to go bold? Between $100–$500, tackle statement projects like two-tone cabinets or dramatic wallpaper. The key is organizing first, then styling around what actually works. Stick with me, and you’ll find exactly where to splurge and where to skip.
Start With Free Fixes: Repurpose, Style, and Create
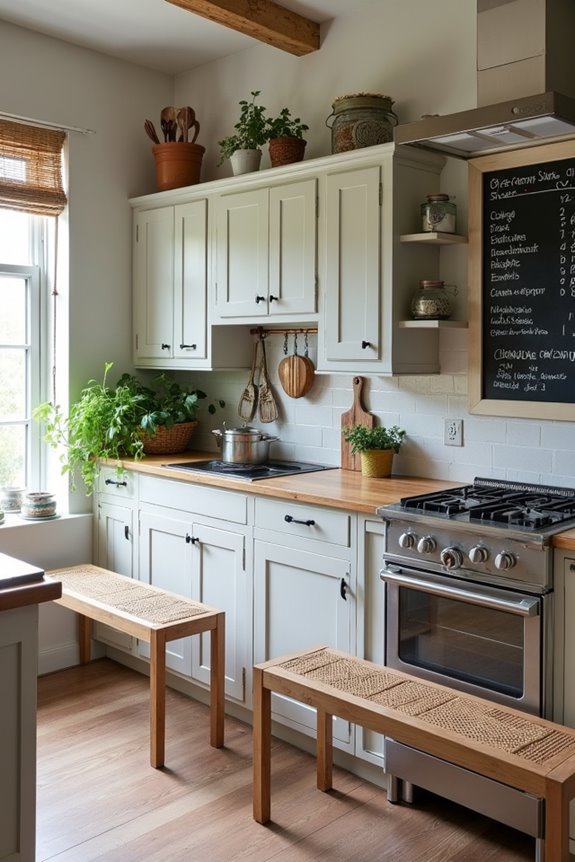
Before you spend a single dollar on your kitchen makeover, take a good look around—I bet you’ve already got decorating gold sitting in your closet or garage.
Repurpose What You Own
That rug you’re tired of? Perfect for a bold kitchen statement. I threw mine down and immediately changed my space without spending anything.
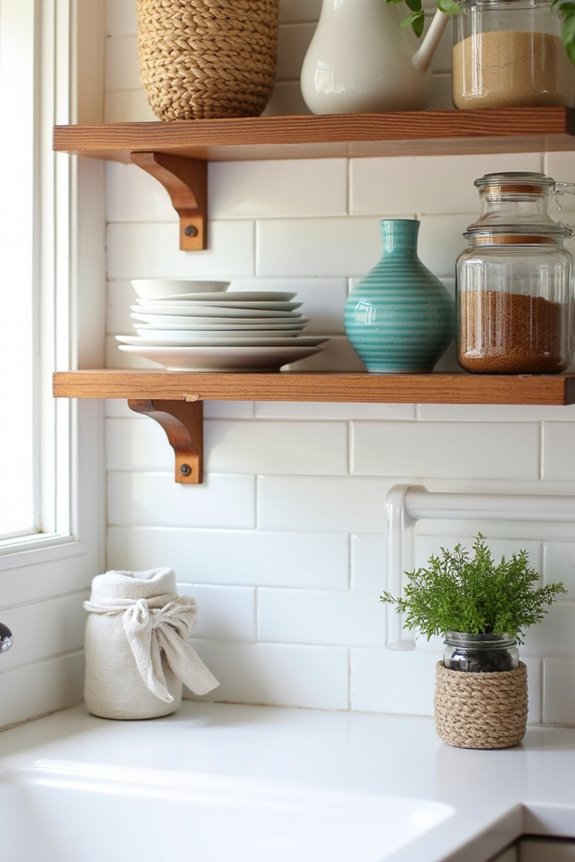
Style Your Open Shelving
Clear the clutter first. Then combine functional tools—measuring cups, wooden spoons—with decorative items. This creates a display that looks organized and deliberate.
Create a Coffee Bar
Dedicate one corner to your coffee machine and coordinating mugs. It’s budget-conscious organization that establishes a functional hub right away.
These free fixes prove you don’t need money to refresh your kitchen. You’ve got everything necessary already. Let’s build from here.
Transform Your Kitchen Under $50: Strategic Budget Updates
Paint Your Cabinets
Grab premium self-priming paint and refresh those cabinets. Two-tone accents? Even better. You’ll notice the difference immediately.
Upgrade Your Lighting
Bold end-of-room focal lighting changes everything. It’s honestly my favorite budget trick.
Maximize Storage
Pull-out kits, drawer organizers, and labeled pantry items create order. Over-the-door organizers squeeze in extra space.
Add Decorative Touches
Removable wallpaper, inexpensive accessories, and a styled coffee bar bring personality. These small details make your kitchen feel designed with purpose and warmth—like a space created just for you.
Elevate Your Design Under $100: Impact for Less
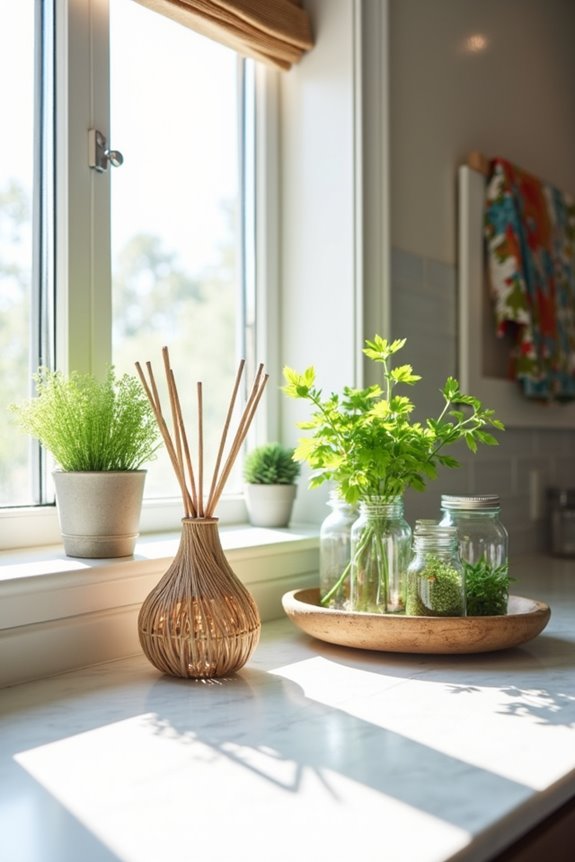
I’ve learned that focusing on two elements at once delivers real results: lighting and storage. Here’s why: Good lighting makes your kitchen feel larger and more welcoming, while smart storage solutions let you actually use your space instead of managing clutter. Let me show you how to accomplish both on a modest budget.
Lighting Transforms Kitchen Space
Want to know the quickest way to make your kitchen look like you hired a designer? Lighting does it.
A single pendant light over your island changes everything. That one fixture becomes a focal point, and suddenly your whole kitchen feels more considered. Here’s what makes it work:
- Midcentury-modern globe styles fit any décor
- Strategic placement improves task lighting where you actually cook
- Budget options hide in sale sections—I found mine for $60
You don’t need a full remodel. One well-chosen pendant delivers real impact under $100. It’s both decorative and functional. The ambiance shifts. Your kitchen goes from “fine” to noticeably better.
Start hunting those lighting retailer sales today. Your kitchen improvement awaits.
Storage Solutions Maximize Organization
While that pendant light creates the ambiance, your kitchen also needs a home for everything you actually use. I’ve found that smart kitchen storage improves how I function daily. You don’t need expensive renovations—budget-friendly décor solutions work just as well.
Start with your cabinet solutions. Pull-out organizers and drawer dividers cost under $50 and maximize space. I labeled my shelves with wipe-clean labels, which sounds simple but saved me time searching for things.
For open shelves, I cleared the clutter first. Now I display matching containers and my favorite dishes—it looks organized and intentional.
Consider painting lower cabinets for two-tone contrast under $50. This refreshed my entire kitchen’s feel without spending much.
These practical organization steps make cooking easier and your space more functional. That’s the real benefit here.
Go Bold: $100–$500 Statement Projects
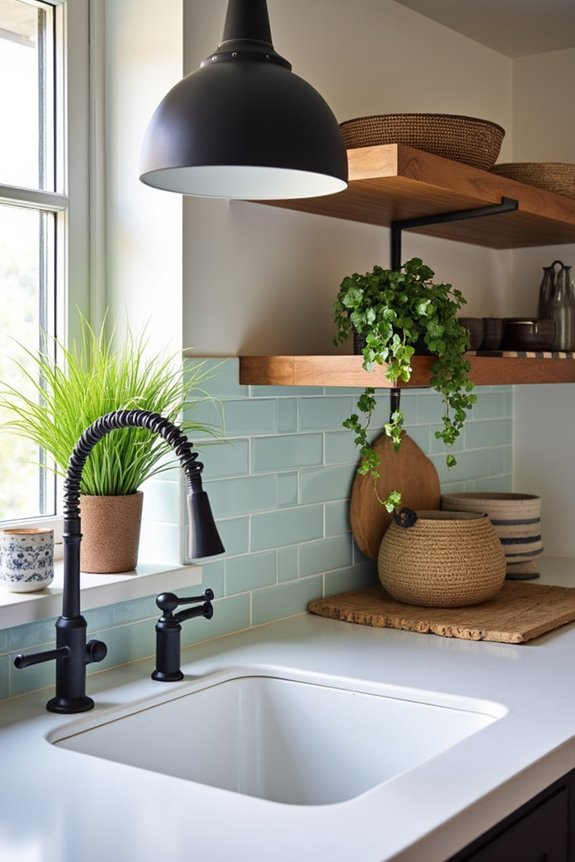
Now here’s where I really start having fun with my kitchen—I’m ready to make some noise with projects that actually cost real money but deliver serious impact. Whether I’m painting my cabinets a rich jewel tone, hanging a statement light fixture that makes people ask where I got it, or putting up dramatic wallpaper that completely changes the vibe, I’m finally moving beyond the quick fixes. These projects take a weekend or two and maybe a little elbow grease, but they change how my kitchen actually looks and feels.
Paint Cabinets Bold Color
Ever wonder why a fresh coat of paint refreshes a kitchen faster than any other single project? I’ve discovered that painting cabinets in bold color is the most budget-conscious kitchen decor upgrade you can complete yourself.
Here’s my straightforward approach:
- Remove hardware and number everything (yes, I learned this the hard way)
- Clean, sand, and apply two to three coats of premium self-priming paint
- Consider a two-tone kitchen design with different colors on doors versus frames
Bold hues like deep navy or emerald create visual impact for $100–$500. Cabinet painting doesn’t require fancy skills—just patience. I coordinate my choice with backsplash and countertops to tie everything together. The change genuinely impressed my family. This project works.
Install Statement Lighting Fixtures
After you’ve painted your cabinets bold, it’s time to grab people’s attention from above. I’m talking about statement lighting that’ll make your kitchen actually shine—literally.
A single pendant above your sink changes everything. You’re looking at $100–$500 for something with real personality. I found a midcentury globe fixture for under $150 that honestly changed my whole kitchen vibe without needing a full remodel.
Here’s what matters: pick pendant lighting that’s both decorative and functional. You want ambiance, sure, but you also need actual light for cooking. Position it carefully so you’re not creating shadows while prepping dinner.
Don’t hunt designer kitchen fixtures. Hunt sales. Budget decor wins come from finding bargains in clearance sections. The right statement lighting gets you the kitchen energy you’re after.
Add Dramatic Wallpaper Designs
What’s stopping you from redesigning your kitchen walls to match your personality? Bold wallpaper is an effective solution that fits most budgets.
For $100–$500, you can create dramatic impact with removable wallpaper or durable finishes designed for high-traffic areas. Here’s what I’d do:
- Pick patterns that suit your personal style—geometric prints, florals, or moody solids
- Test layouts with paper before committing to see how colors feel in your space
- Choose washable, scrubbable designs that handle kitchen splashes
Budget-conscious options like removable wallpaper work well if you’re renting or still deciding on a permanent solution. Pair your new walls with coordinating lighting or cabinet accents for a unified appearance. You’ll see the results immediately.
Pick Your Budget-First Focal Point
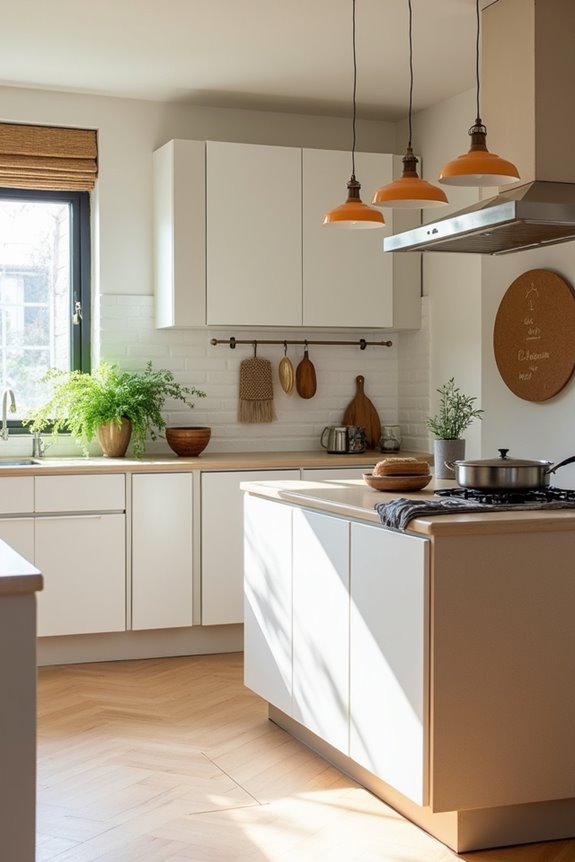
The smartest move I made when decorating my kitchen on a budget was choosing one standout element first—before buying anything else. I picked a bold pendant light as my visual anchor, then built around it.
Here’s why this works: A single focal point gives your budget-conscious upgrades direction. Instead of scattering $50 here and $100 there randomly, every decision now serves your main event.
I paired my pendant with complementary two-tone cabinetry and a coordinating wall color. Suddenly, my kitchen felt well-planned and polished—not hastily assembled.
You might choose a striking backsplash or statement stove instead. The approach stays the same: pick your anchor first, then let unified styling flow from there. Your space becomes more cohesive, your budget stretches further, and everything feels connected. That’s affordable decorating done right.
Plan Your Updates in Smart Order
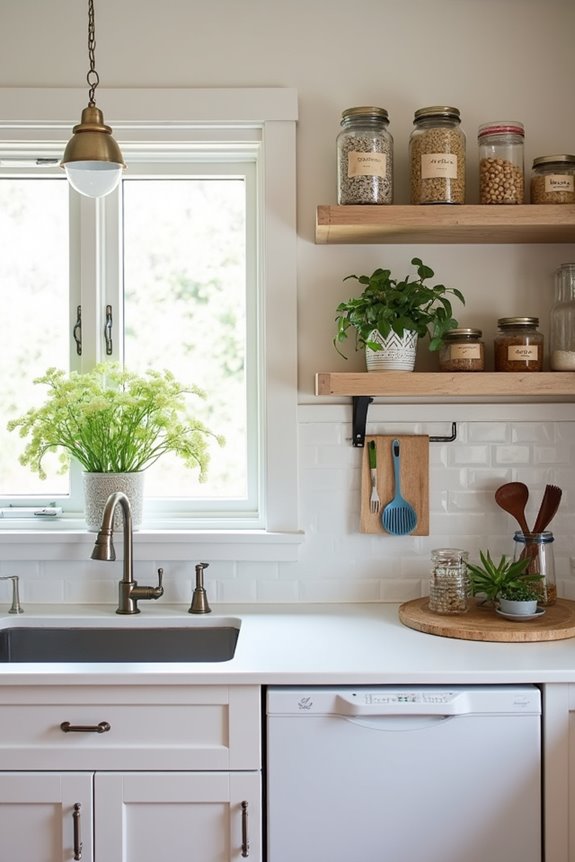
Once you’ve got your focal point locked in, the real work happens when you tackle updates in the right order—and I learned this the hard way after painting my cabinets before organizing them (spoiler: that was backwards).
Start with these phased updates:
Start with these phased updates: storage kits, then organizers, then lighting. Organization first, aesthetics second.
- Pull-out storage kits and drawer organizers that create functional zones from cluttered spaces
- Labeled pantry containers and display cabinets that keep things tidy while showing what you have
- Budget lighting like a single pendant that shifts your kitchen’s mood
Why this order? Organization creates a clean canvas for everything else. You’ll see what actually works before investing in style changes. This phased approach means you’re not wasting money on aesthetic updates when hidden chaos lurks behind closed doors. Your future self will thank you.
Style What You Already Have
How many times have you walked past your kitchen and thought it looked tired, only to realize you’re just seeing the same stuff in the same way?
I get it. Sometimes we overlook what we’ve got. Start by repurposing items you already own—that rug from the hallway? Move it in front of the sink. Those dishes gathering dust? Display them on open shelves for instant charm.
Next, tackle storage solutions that actually work. Label your containers. Rearrange your cabinets so frequently used items sit at eye level. These budget-conscious DIY upgrades take zero dollars and maybe an hour.
When you style what you already have, you’re not just decorating. You’re discovering that refresh you’ve been searching for was right there all along.