
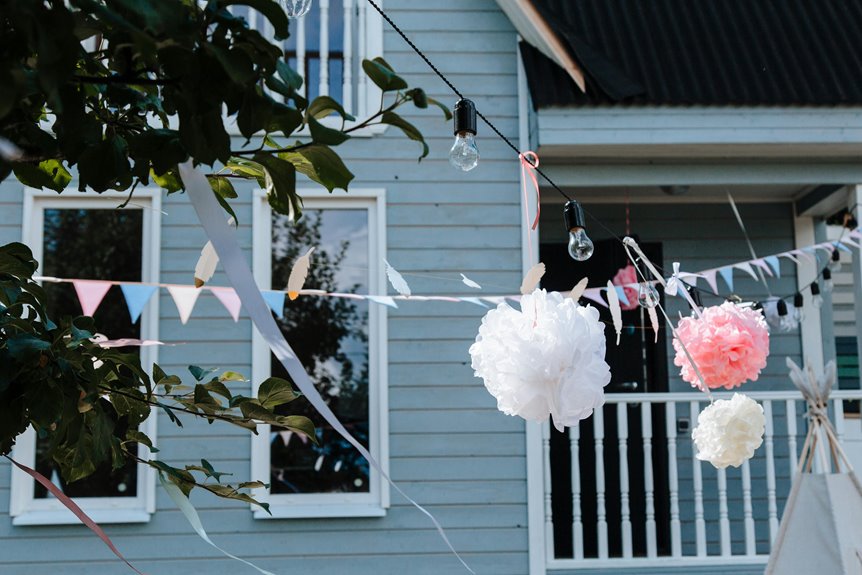
I redesigned my neglected backyard into a functional outdoor room for under $500 by prioritizing high-impact projects. Solar string lights provide ambiance without hiring an electrician. A stone fire pit with budget seating became our main gathering spot. I created distinct zones with pea gravel and edging, painted concrete surfaces, and layered outdoor rugs for texture. Thrifted furniture restored with teak oil looks new. These five starter projects deliver the largest visual return. Which project offers the best value for your investment?
Start With Lighting: It’s the Cheapest High-Impact Upgrade
When I first tackled my backyard on a shoestring budget, I realized that lighting was going to be my hidden ace. Solar lighting gave my space a polished look without draining my wallet or the power grid.
Solar lighting was my secret weapon for a polished backyard without the hefty price tag or power bills.
Here’s what worked for me: solar string lights draped overhead created instant ambience. Solar pendant lights hung from trees gave me zones without complicated wiring. Tiki torches and lanterns added visual interest for next to nothing.
The best part? Solar lights charge themselves during the day and run dusk-to-dawn with barely any effort from you. No electricity bills. No maintenance headaches. You’re just hanging them up and letting the sun do the work.
String together affordable options like these, and you’ve got a backyard that looks like you invested serious cash.
Build a Stone Fire Pit in a Weekend
I’ve built fire pits that turned my awkward backyard into the neighborhood hangout spot, and honestly, the key is keeping it simple—a solid stone foundation and smart seating layout are all you really need. You’ll want to focus on three things: laying down those stones properly so your pit doesn’t collapse mid-s’mores, arranging seating that actually lets people talk to each other (not stare at backs), and understanding how a gathering spot like this changes your outdoor space. Let me walk you through how to pull this off in a weekend on a reasonable budget.
Creating Your Stone Foundation
One of the smartest moves you can make for your backyard is building a stone fire pit—and honestly, it’s easier than you’d think. I started by gathering locally sourced stones, which kept costs down while giving my space character. Here’s what I did: First, I marked out a circular foundation about eight feet wide. Then I dug a shallow basin, maybe six inches deep. I laid down a gravel base for drainage—this prevents water damage. Next, I arranged my stones in concentric circles, stacking them carefully outward. No mortar needed for this budget approach. The key? Taking your time and checking that each stone sits stable. Within hours, my foundation was solid. This practical base made my yard into the gathering spot our family needed.
Designing the Seating Area
How do you turn a stone circle into an actual hangout spot? You add comfortable seating around it. I’ve found that arranging outdoor seating strategically makes my DIY fire pit the centerpiece of my backyard.
| Seating Type | Best For | Cost |
|---|---|---|
| Built-in stone benches | Permanence | $50-100 |
| Wooden log seats | Rustic feel | $20-40 |
| Cushioned chairs | Comfort | $30-80 |
| Blanket-covered ground | Casual vibes | $15-25 |
I positioned benches about six feet from the flames—close enough for warmth, far enough for safety. This distance creates an intimate gathering space where conversation flows naturally. When friends arrive, they immediately gravitate toward the setup. That’s when I know the design works.
Gathering and Social Benefits
When you’ve got a fire pit ready to go, something shifts—your backyard becomes the place everyone actually wants to be. I’ve watched it happen at my garden party: friends gravitate toward the warmth, conversations flow naturally, and suddenly everyone’s roasting marshmallows and sharing stories. Your fire pit becomes the heart of outdoor gatherings.
Here’s what makes it work. People crave connection, and a fire pit creates that focal point naturally. You’re not forcing anyone to mingle—they just do. Kids cluster around for hot dogs. Adults linger with drinks. The whole vibe shifts.
That’s the real value. You’re not just building a feature; you’re creating belonging in your own backyard. Weekend after weekend, your fire pit becomes where memories happen.
Define Zones With Edging and a Pea Gravel Patio
Why settle for a blank, shapeless backyard when you can carve out distinct areas with materials that won’t drain your wallet?
I’ve discovered that edging and pea gravel organize my outdoor space into defined zones. Here’s what works:
- Edging stones frame flower beds and create clear boundaries between spaces
- Pea gravel fills sitting areas, defining them without expensive concrete
- Landscape fabric underneath prevents weeds from ruining your design
- Bulk delivery from local suppliers keeps costs down significantly
The best part? You’re creating gathering spots with purpose. Your seating area becomes a real destination. Your garden looks professionally maintained. I’m not a contractor—I’m just someone who wanted more from my yard without maxing out my budget. These simple steps deliver exactly that.
Refresh Concrete and Deck Surfaces by Painting
If you’ve got tired-looking concrete or a dingy pool deck, painting is one of the cheapest ways to refresh these spaces without tearing everything out and starting over. A fresh coat of paint costs significantly less than pouring new concrete, and it lets you pick any color you want to match your backyard style, whether that’s cool blues or warm terracotta. The key is adding anti-skid additive to your paint so the surface stays safe when wet, and then maintaining the finish regularly to keep it looking good for years.
Paint As Budget Alternative
One of the smartest moves I’ve made for my backyard didn’t involve ripping anything out or spending thousands—it was grabbing a paintbrush. Painting concrete surfaces refreshed my tired patio into something I actually wanted to spend time on. Here’s what makes this approach so practical:
- Cost-effective upgrade – Paint costs way less than pouring new concrete
- Custom colors – Match your outdoor vision or patio painting style to your home’s character
- Durability – Lasts several years when you prep properly and use quality exterior paint
- Safety boost – Anti-skid additives prevent slipping on wet surfaces
The key? Proper surface preparation matters most. Clean everything thoroughly, let it dry completely, then apply paint carefully. Your concrete deck’ll look refreshed and usable again. This straightforward upgrade delivers real results without the renovation headache.
Safety and Durability Considerations
When you’ve invested time and money into painting your concrete surfaces, you’ll want that fresh look to last—and more importantly, you’ll want your family and friends to stay safe on it.
I learned this the hard way after one too many near-slips on my freshly painted deck. Here’s what matters: add an anti-skid additive to your painted concrete. This stuff reduces slip risks when surfaces get wet—providing peace of mind.
Durability also depends on prep work. I spend time cleaning thoroughly and priming beforehand. It seems tedious, but proper preparation means your painted surfaces last years longer.
Want your investment to hold up? Don’t skip these safety steps and durability foundations. Your outdoor space—and everyone enjoying it—deserves that protection.
Color Customization for Aesthetics
Now that you’ve got safety covered, here’s the fun part—choosing colors that’ll actually make you excited to spend time outside. I’ve found that painting changes tired concrete into something you’ll love. You’re not stuck with boring gray anymore.
Here’s what I’d suggest exploring:
- Behr Sunset Drive for that warm, peachy tone that feels inviting
- True Copper dark accents that add visual interest and sophistication
- Checkered patterns combining both colors for dimension
- Faux marble effects using DIY painting techniques for an upscale appearance
The beauty? You customize everything yourself. Want a cozy peachy patio? Done. Prefer dramatic copper and cream stripes? You’ve got it. I’ve even reused leftover spray paint on planters for matching aesthetics. Your outdoor space finally shows your personality at a reasonable cost.
Add Shade on a Budget With a Pergola Kit
Building your own pergola doesn’t require hiring contractors or spending a fortune. A pergola kit allows you to assemble your own shade structure affordably. Using modular hardware like Toja Grid, I assembled my own shade structure for roughly $1,100—a fraction of professional installation costs.
| Component | Cost | Purpose |
|---|---|---|
| Hardware Kit | $800 | DIY assembly base |
| Lumber | $300 | Structure support |
| Stain (optional) | $50-100 | Finishing touches |
Many DIYers have built pergolas themselves, avoiding expensive contractors. Your pergola kit extends your concrete slab into a functional shaded area. Black stain provides a polished appearance. You’ll have the satisfaction of knowing you built this yourself.
Screen Eyesores and Block the Neighbors’ View
Every backyard’s got that one thing—maybe it’s your trash cans, the neighbor’s shed, or some beat-up AC unit—that kills the whole vibe you’re going for.
Every backyard has that one eyesore—trash cans, a neighbor’s shed, a beat-up AC unit—that ruins your whole vibe.
You want a retreat, not an eyesore gallery. That’s where smart screening comes in. Here’s what works:
- Repurposed shutters or pallets dressed with climbing vines create natural-looking privacy barriers
- Freestanding bamboo or decorative panels move anywhere and cost considerably less than fencing
- Dense plantings and tall grasses block sightlines while looking deliberate
- DIY lattice screens hide garbage cans without heavy construction
The benefit? These solutions are reversible. Need to remove them before selling? Done. Want to switch things up seasonally? Easy. You’re building a space that feels like yours—affordably.
Restore Old Patio Furniture for Under $50
I’ve watched weathered wooden chairs go from worn to refreshed with just teak oil and some effort—and it’s one of my favorite budget wins. You can find used furniture pieces on Facebook Marketplace or local classifieds for very little money, then spend maybe $20-30 on quality teak oil to bring them back to life. The best part? A few coats of oil, some basic brushes you probably already have, and you’re looking at furniture that looks almost new again without replacing anything.
Teak Oil Restoration Method
One of the easiest ways to restore beat-up wooden patio furniture is with teak oil—it makes a noticeable difference.
I’ve restored weathered chairs and tables that looked completely worn out. Here’s what you’ll notice:
- The wood’s natural color returns, appearing richer and more vibrant
- Dry, cracked surfaces become smooth and protected again
- Your furniture appears well-maintained instead of neglected
- The whole process costs under $50, sometimes far less
The budget approach? Apply teak oil with a cloth, let it soak in, and watch the results. You’ll repeat this every season or two to keep pieces looking good. It’s the kind of project where minimal effort delivers solid results. Your outdoor space will benefit from this maintenance.
Budget Sourcing Strategies
Since you’ve got teak oil in hand and a vision for your outdoor space, finding the right furniture to restore is where smart sourcing saves you serious money.
Facebook Marketplace is my go-to hunting ground. I’ve scored weathered chairs and benches for $10-20 that looked pretty rough. The thrift store’s another goldmine—I found a solid wooden table there last month for $15. Here’s the thing: don’t get caught up in perfect condition. Dry, faded wood? That’s actually ideal for restoration.
Check listings daily. Text fast. Ask sellers about damage honestly—peeling finish and dull color are fixable. Avoid pieces with structural rot or wobbly joints, though. With patience, you’ll build an outdoor collection that costs under $50 total.
Layer Rugs and Soft Furnishings to Create Comfort
How do you turn a bare patio into a space where you actually want to hang out? I’ve found that layering rugs and soft furnishings does the trick. It’s honestly my favorite budget hack.
Layering rugs and soft furnishings transforms a bare patio into an inviting gathering space on any budget.
Start by anchoring your seating area with a durable, weather-resistant outdoor rug. Then add textiles that invite relaxation:
- Affordable throws draped over chairs
- Cushions in complementary colors
- Layered rugs that define separate zones
- Thrifted textiles from flea markets
These soft furnishings soften hard surfaces at a low cost. I’ve swapped seasonal pieces from discount stores to keep things fresh. Positioning rugs near your fire pit creates that cozy living room feel outdoors. You’re not just decorating—you’re building a gathering spot where friends naturally want to belong.
Install Low-Cost Games and Recreation Spaces
Why settle for a backyard that’s just pretty to look at when you can make it fun to actually use? Creating game spaces doesn’t require expensive equipment or fancy setups.
Start with simple backyard games like cornhole or ladder toss—these are affordable options that get guests mingling during cookouts. I found mine at thrift stores and Facebook Marketplace for minimal cost.
Consider building a bocce ball court that doubles as a horseshoe pit. You’ll need just a level playing surface and basic materials.
For patio ideas, repurpose indoor items like lanterns and cushions to define different game zones. Section your space into themed areas using benches as focal points. This approach keeps costs down while creating multiple gathering spots your friends will want to visit.
Outfit an Outdoor Bar From Thrifted Finds
Once you’ve got your game zones set up, you’ll want a spot where folks can grab drinks and snacks—and that’s where a thrifted outdoor bar comes in handy. I’ve built mine from budget finds, and it’s become my favorite gathering spot.
Start with a sturdy bench as your base. Clear off any dirt and plants, then add thrifted containers for bottles around it. Here’s what works:
- Wooden racks for organized bottle storage
- Ceramic baskets holding fresh citrus
- Rattan baskets keeping napkins accessible
- Repurposed lanterns for ambient lighting
Source everything from thrift stores or Facebook Marketplace. Mix different styles and finishes—don’t worry about matching perfectly. That eclectic look is more inviting. Your friends will value the creative space you’ve built at a reasonable cost.
Plant Mosquito-Deterrent Species for Free or Cheap
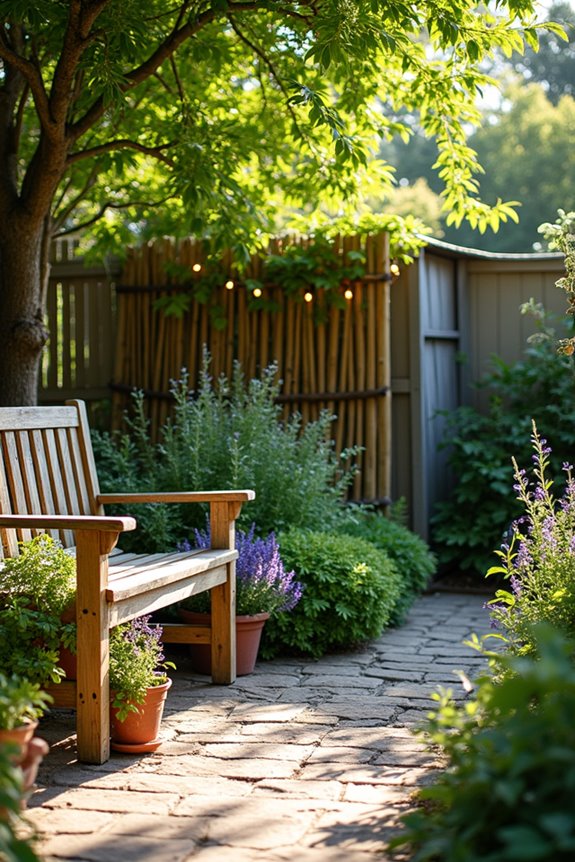
What if you could keep those pesky mosquitoes away just by planting a few herbs and flowers you’ve probably got lying around already? Creating a mosquito-deterrent garden doesn’t require a big budget or green thumb.
I planted citronella, lavender, rosemary, and basil around my patio. I added catmint and lemon grass too. These budget options work because mosquitoes hate their strong scents. You can tuck them into existing planters or garden beds without replanting everything.
The best part? I grabbed starts from friends’ gardens for free. Even buying seeds costs just a few dollars. Your yard now smells nice, looks better, and feels more enjoyable. You’ll join other gardeners ditching chemical sprays for natural solutions.
Tackle These Five Projects First: Ranked by ROI
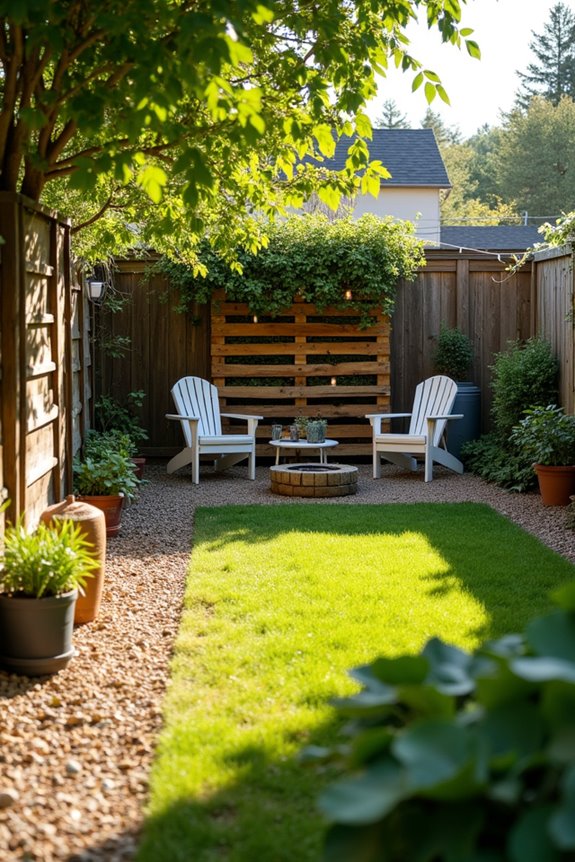
Not every backyard upgrade costs the same or delivers the same bang for your buck. I’ve learned that prioritizing projects by ROI saves money and gets results faster than you’d think.
Here’s what I’d tackle first:
- Modular outdoor kitchen kit – Cook and entertain without a contractor bill
- DIY pergola with Toja Grid hardware – Shade plus structure, reusable if you move
- Solar string lights – Evening ambiance without electrician costs
- Outdoor rug over damaged pavers – Instant refresh, moves with you
These projects give you the most impact for your investment. You’re not just fixing problems—you’re creating zones where you actually want to spend time. Start here, and you’ll notice the difference right away.