
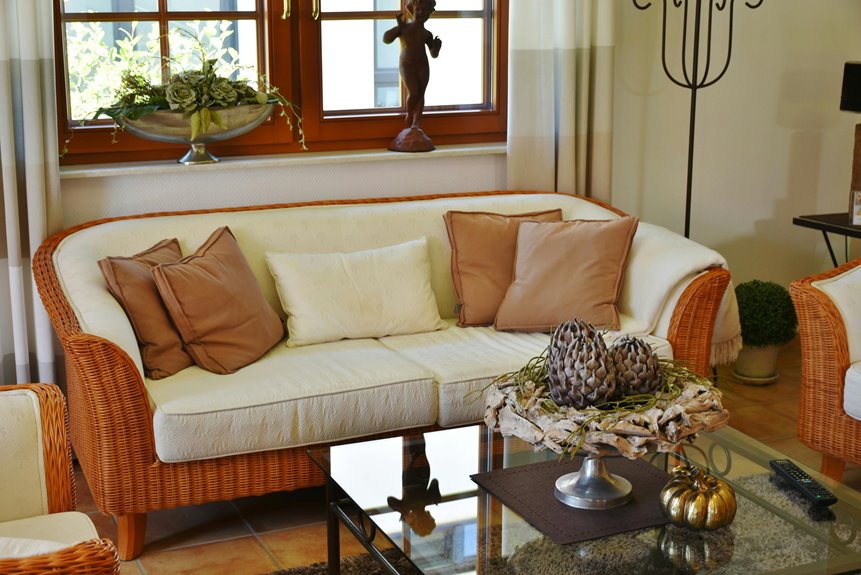
ChatGPT becomes your design partner when you give it three things: a clear style choice (say, modern boho), a photo of your actual room, and a “don’t touch” list for what stays.
I upload my living room pic, specify warm neutrals and curved furniture, then tell it to keep my fireplace untouched.
ChatGPT generates options in seconds. I refine through follow-up prompts, export the final design as a mood board, and shop with confidence.
Stick around to discover exactly how to structure prompts that actually work.
Pick Your Style Before ChatGPT Generates Options
Why fumble around asking ChatGPT for decorating ideas without a clear direction? I learned this the hard way. When I finally decided on modern boho for my living room, everything clicked into place.
Here’s what I discovered: choosing your style upfront saves tons of time and frustration. Before you upload that photo or write your first prompt, pick one aesthetic—maybe Scandinavian minimalism or industrial chic. This becomes your guide.
I specified “modern boho” in my prompts, mentioning concrete details like warm neutrals, woven textures, and curved furniture silhouettes. ChatGPT suddenly understood exactly what I wanted. No more mixed suggestions that felt chaotic.
Lock in your style choice early. It’s the difference between decorating chaos and confident decisions. Your living room—and your sanity—will benefit from this approach.
Choose ChatGPT Plus or Free: Know Your Image Limits
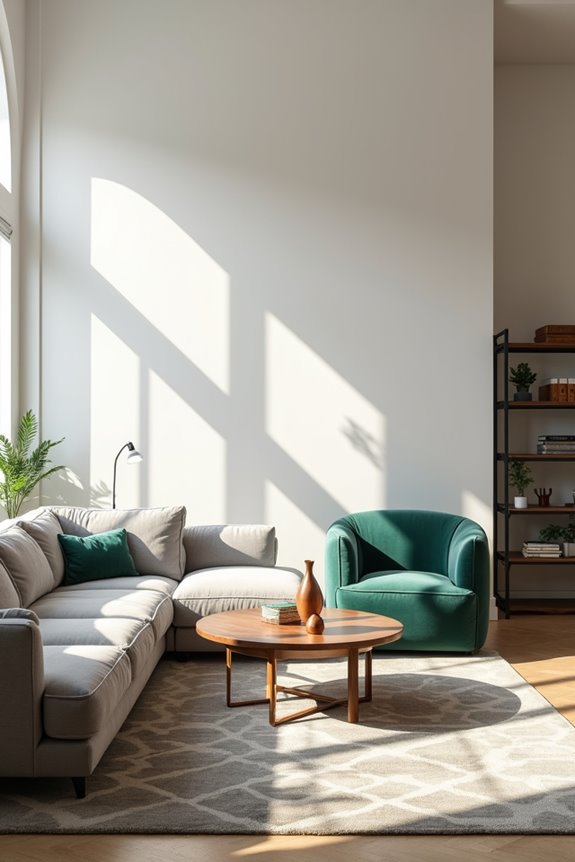
I’ve found that the free version gives you just 3 room designs daily, which honestly feels like you’re barely getting started before you hit the wall. If you’re serious about exploring different decorating directions, ChatGPT Plus bumps you up to 50 images every three hours—a significant advantage when you’re torn between that minimalist vibe and something cozier. The choice really depends on whether you want quick experiments or the freedom to generate tons of variations without rationing your daily allowance.
Free Version Daily Constraints
How many design ideas can you actually squeeze out of ChatGPT’s free tier?
Three per day. That’s your image limit with the free version, and it’s a workable constraint. I’ve learned to work strategically within those boundaries. You upload your room photo once, then craft three different prompts asking for distinct styles—maybe modern, cozy, then bold. Each generates a unique redesign concept.
The trick? Be specific in your text prompts. Instead of “make it prettier,” try “add warm lighting and plants for a calming vibe.” This way, your three images deliver real variety without wasting generations on similar ideas.
You’re getting three chances daily to explore different directions. Sure, it requires patience and planning, but that’s actually helpful. You’ll make thoughtful choices rather than rapidly clicking through endless options.
Plus Subscription Enhanced Capabilities
Ready to stop rationing your design ideas? With a Plus subscription, I’ve ditched the frustration of waiting for my daily image generation quotas to reset. Instead of three renders per day, I’m getting fifty every three hours—a significant shift for someone like me who gets excited about design possibilities.
Here’s what changed for me: I can explore multiple furniture arrangements, color schemes, and decor styles without constantly checking how many images I’ve used. When I find something promising, I iterate freely. Need to adjust that accent wall color? Done. Want to try a different layout? No problem.
This subscription changes room redesign from a slow, careful process into genuine creative exploration. I’m experimenting more boldly because I’m not rationing my attempts. That freedom? It’s honestly valuable.
Upload a Photo and Define Your Design Vision
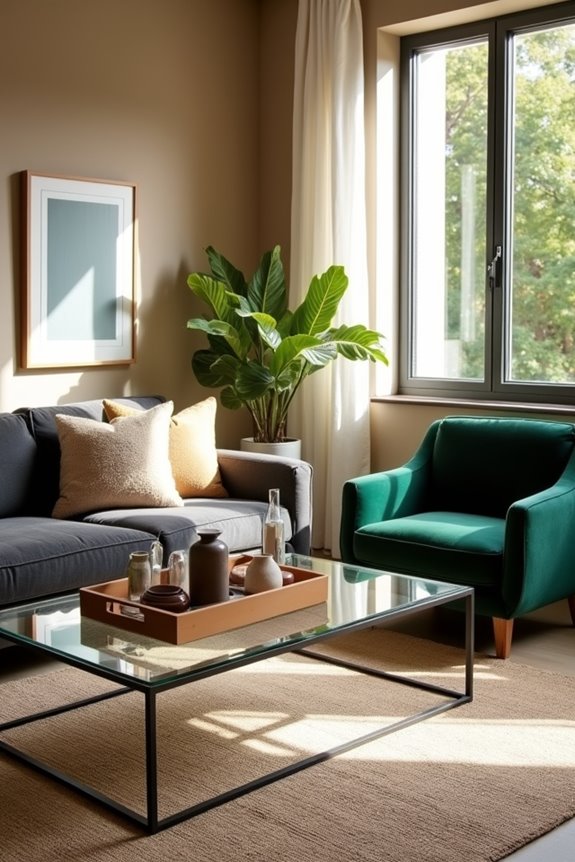
Now comes the fun part—actually showing ChatGPT what you’re working with. I grab my phone, snap a clear photo of my living room (natural light helps!), and upload it to ChatGPT, which gives the AI the actual layout and lighting it needs to work with. Then I write out my design vision in detail: I tell it I want a mid-century modern style with warm neutrals and a pop of forest green, maybe some hanging plants and warm lighting, and definitely no maximalist clutter (because, let’s be honest, I’d just fill it again). Being specific about what you want *and* what you don’t want leads to suggestions that actually fit your space instead of generic ideas that won’t work.
Starting With Your Room Photo
Starting With Your Room Photo
Why does a blurry phone snapshot matter when you’re redesigning your space? Because it’s your starting point. I’ve learned that uploading a clear photo of my living room gives ChatGPT the context it needs to actually understand my space—not just imagine some generic room.
Here’s what makes this step useful:
- Visual context – ChatGPT sees your actual furniture, walls, and lighting, not a made-up version
- Realistic suggestions – The AI tailors ideas specifically to your room’s size and layout
- Better visualization – You’ll get redesign suggestions that actually work with what you’ve got
Before uploading, I define my design vision clearly. I tell ChatGPT my preferred style, color palette, and must-have elements like plants or new lighting. It’s like briefing a designer friend on exactly what I’m imagining.
Communicating Your Design Style
Once you’ve got that room photo ready, here’s where you need to communicate clearly with ChatGPT about your vision.
Be specific about your design style. Instead of saying “I want it prettier,” try “modern boho living room with warm lighting and plants.” This clarity guides ChatGPT toward the right color palettes and furniture choices for your interior design vision.
Tell ChatGPT what you actually want. Do you need a console table? Better seating? More greenery? The more details you provide, the better recommendations you’ll receive.
Don’t forget constraints either. If you’re keeping that existing flooring or can’t move windows, say so. These boundaries prevent ChatGPT from suggesting changes that won’t work in your real space.
Think of it like having a design friend who needs your honest input.
Write Prompts That ChatGPT Consistently Follows
Have you ever given ChatGPT decorating instructions only to get suggestions that don’t match what you actually wanted?
Have you ever asked ChatGPT for decorating ideas only to receive suggestions that missed the mark entirely?
I’ve been there. The trick? Writing prompts that actually work. Here’s what I’ve learned:
- Include your style explicitly – Say “transitional” or “boho,” not just “pretty”
- Add actionable constraints – Specify what changes (hang a mirror) and what doesn’t (keep existing windows)
- Reference your photo directly – Upload your room so ChatGPT sees your actual space
When I started being this specific with interior-design prompts, the suggestions matched my vision. Instead of vague ideas, I got concrete recommendations I could actually use.
If ChatGPT still misses the mark? Rephrase or restart the chat. It’s like giving a friend clearer directions—specificity works every time.
Protect What You’re Keeping (Tell ChatGPT What Not to Change)
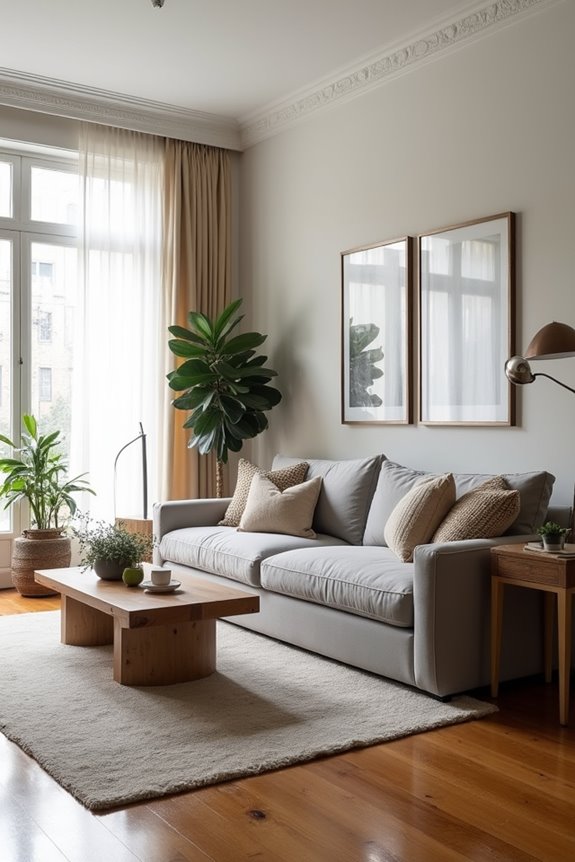
I’ve learned the hard way that ChatGPT will happily redesign *everything* unless you tell it what stays put, so I now lead with a “don’t touch” list before asking for any changes. When I say things like “do not move the fireplace, keep the bay window uncovered, and the built-in bookshelf stays exactly where it is,” ChatGPT respects those boundaries and focuses its creativity on what actually needs work. Think of it like setting ground rules with a well-meaning friend who wants to rearrange your whole space—you’ve got to be clear about your non-negotiables, or you’ll end up with suggestions that don’t fit your real-world constraints.
Setting Explicit Design Boundaries
Why do so many of us end up with ChatGPT suggestions that completely ignore our favorite built-in bookshelf or that window we love? The answer’s simple: we haven’t set explicit limits yet.
Here’s what I’ve learned works:
- List fixed features first – windows, doorways, built-ins, and architectural elements stay untouched
- Define interior-only changes – specify what can change (wall colors, decor) versus what can’t (exterior structure)
- Create a “do not touch” list – protect cherished art, lighting fixtures, and cabinetry from modifications
When you’re clear about interior design constraints upfront, ChatGPT actually listens. I tell mine exactly what stays put, then ask for creative suggestions within those limits. It’s like giving your AI decorator a map instead of hoping they’ll guess right. It works.
Excluding Architectural Elements
Now that you’ve mapped out your design limits, it’s time to get specific about what stays exactly where it is. I learned this the hard way—I almost asked ChatGPT to relocate my fireplace mantle before realizing that’s a no-go. Tell your AI assistant exactly which architectural features are permanent: load-bearing columns, ceiling heights, windows, doors, and radiators. Create a constraint list you’ll reference throughout conversations. When building mood boards, work around these fixed elements rather than against them. This protects your home’s structure while letting you redesign interior decor freely. ChatGPT works best with clear boundaries—it’s like giving your friend guidelines before rearranging your space. You’re not limiting creativity; you’re channeling it strategically.
Refine Your Design in Iterative Steps
Refine Your Design in Iterative Steps
Once you’ve got ChatGPT’s initial design sketch based on your room photo and prompt, the refinement process is where the most significant improvements happen.
Here’s my iterative design approach:
- Reintroduce architectural details – Ask ChatGPT to preserve your windows and ceiling while adjusting lighting or openings. This keeps things realistic and grounded.
- Layer requests strategically – I add colors, textures, and furniture shapes one at a time. Throw in greenery and accents last. Multiple images reveal what works.
- Specify what stays fixed – Tell ChatGPT exactly what not to touch. Your fireplace stays. Your doorway stays. This focus prevents chaotic redesigns.
Each round of images gets you closer to your actual vision. You’re not just dreaming—you’re building something real, step by step.
Rephrase When ChatGPT Misses the Mark
Sometimes ChatGPT creates something that doesn’t work.
Maybe the color palette feels off, or the furniture placement doesn’t match your vision. That’s totally normal—and fixable. The way forward? Rephrase your prompts with way more detail.
Instead of “make my living room cozy,” try: “I want warm terracotta walls, a cream sofa against the left wall, and brass lighting fixtures. Keep the fireplace visible.”
Be specific about what shouldn’t change too. Say “don’t move the windows” or “keep the built-in shelving.” This prevents ChatGPT from redesigning things you love.
Include style words—modern, minimalist, eclectic—and describe your actual vibe. Share colors, textures, and specific furniture pieces you want.
Refinement takes conversation. Ask why ChatGPT made certain choices. Then rerun your prompt with corrected details. You’ll get the results you want together.
Lighting, Color, and Proportion: Common Tweaks That Work
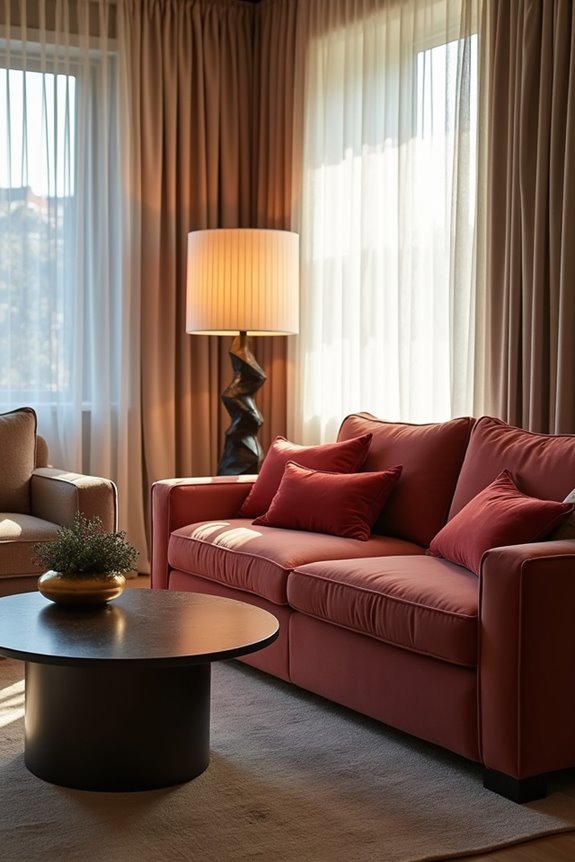
Once you’ve nailed down your room’s bones through better prompts, it’s time to fine-tune the details that’ll make people take notice when they walk in.
Here’s where I’ve seen the biggest changes happen:
- Layer your lighting – Combine a dimmable ceiling light, desk lamp, and LED sconces. This trio adjusts your mood and creates depth right away.
- Balance color strategically – Use the 60-30-10 rule: 60% dominant color, 30% secondary, 10% accent. Lighter walls maximize light and space, while bold accents anchor your design without overwhelming everything.
- Scale furniture proportionally – Leave 18 inches around sofas and 24 inches between your coffee table and seating. Mix low-profile pieces with taller lamps for visual interest.
These tweaks turn ChatGPT’s suggestions into a room that feels like yours.
Check AI Suggestions Against Your Budget and Space
How many times have you fallen in love with a design idea only to realize it costs three times what you’ve actually got to spend?
I’ve been there. ChatGPT gives solid suggestions, but here’s the reality check: you need to measure twice and calculate once.
Match Dimensions to Your Room
I pull out my tape measure and compare furniture sizes to my actual square footage. That gorgeous sectional? It might block your doorway or swallow your space entirely.
List Real Costs
I create a spreadsheet with ChatGPT’s picks alongside actual prices from affordable retailers. This keeps me grounded.
Choose Adaptable Pieces
I prioritize modular sofas and multi-functional storage. If my budget shrinks, I can adapt without starting over.
Find Budget Alternatives
I ask ChatGPT for similar styles at lower price points. You’ll find worthwhile options when you dig deeper.
Use Separate ChatGPT Chats for Each Room Design
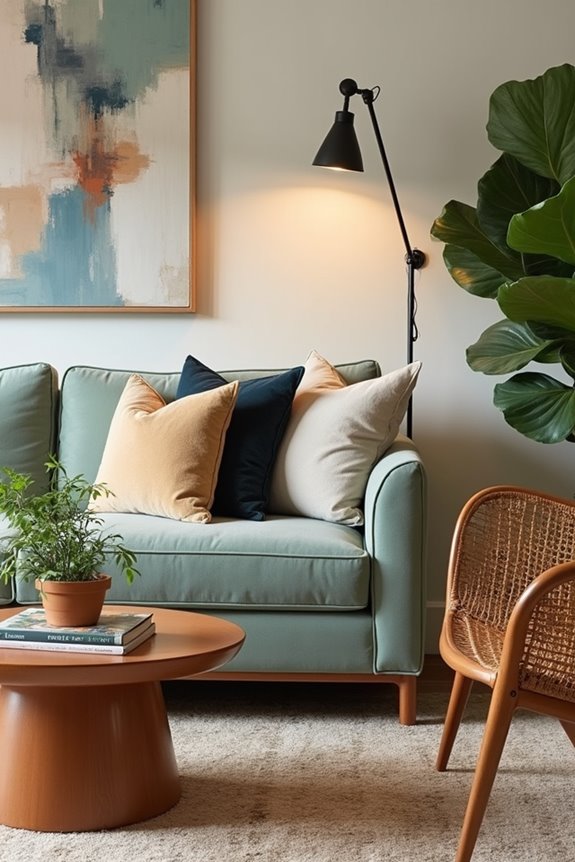
Why do I keep my living room chat separate from my bedroom chat? Simple—each room needs its own design personality, and mixing them up creates confusion faster than you’d think.
Here’s what I’ve discovered works:
- Prevent style bleeding – My living room’s bold color palette doesn’t have to match my bedroom’s calm vibes
- Track specific constraints – I document each room’s dimensions, lighting, and furniture separately without losing notes
- Develop designs independently – I revisit old chats to build on previous ideas without muddled suggestions
When I use separate chats for each room design, I’m not just organizing—I’m creating focused workflows. My living room chat becomes this dedicated space where I develop color schemes, furniture layouts, and lighting plans specific to that area.
You’ll feel more in control when each room’s vision stays pure and untangled.
Export Your Final Design for Printing and Shopping

After you’ve finalized your living room vision with ChatGPT, the next step is converting those digital ideas into physical reality.
I export my final designs as high-quality images that I can print. These shopping-ready outputs include everything—furniture suggestions, decor picks, and color palettes aligned with my chosen style. I use these printouts as mood boards when I’m at furniture stores or showing my contractor what I’m envisioning.
The exports preserve all important details: materials, layouts, and colors that guide my purchasing decisions. Having a physical version makes shopping more straightforward. No more second-guessing myself in the store. I can also share these images with family or friends before committing to major purchases.
Why ChatGPT Works Best as a Design Starting Point
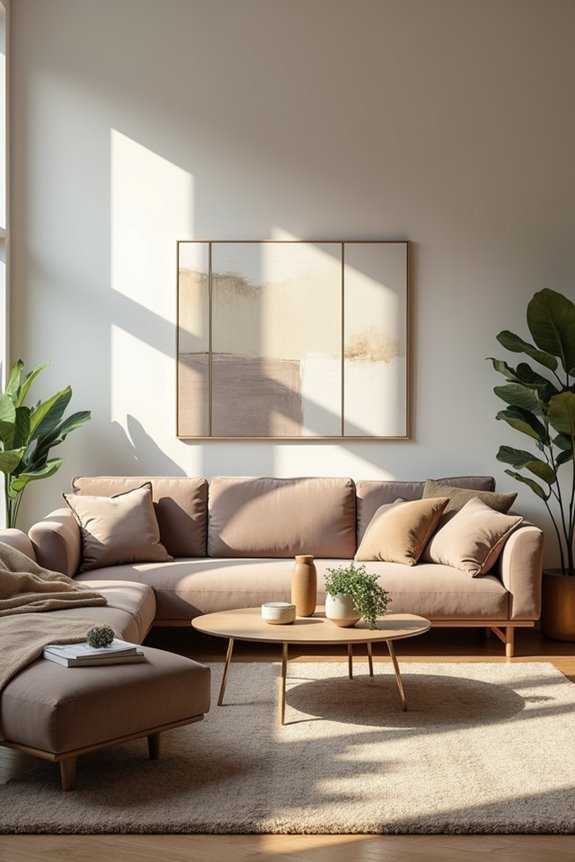
When you’re staring at your living room wondering where to even begin, ChatGPT becomes your creative partner who’s always ready with fresh ideas.
Here’s why I’ve found it works so well as your design starting point:
- Design ideation happens fast – You’ll get multiple room styles and color palettes in minutes, not weeks of scrolling Pinterest
- Iterative prompting lets you refine ideas – Each conversation builds on the last, so you’re constantly improving your vision
- You explore without commitment – Test aesthetics before spending money or moving furniture around
I don’t need design credentials to benefit from this approach. ChatGPT handles the heavy lifting, generating concepts I’d never think of alone. It’s like having a friend brainstorm with you at 2 a.m., except it never gets tired. You’re basically using technology as your creative springboard, which honestly beats staring at blank walls.